Why Is My Cake Dense and Rubbery? Over- or Undermixing
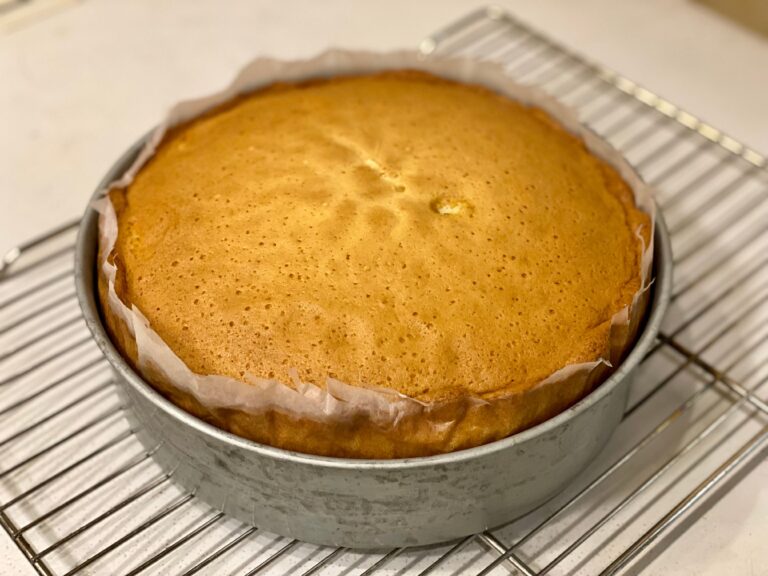
The knife drags going in. The slice lifts out in one heavy piece, and when you press the crumb it springs back instead of breaking apart. It tastes fine. It just doesn’t feel like cake. Search why is my cake dense and rubbery and nearly every result blames the same thing: overmixing. That’s often right, and it’s half an answer. Undermixing produces the same tight, springy crumb by the opposite route, and almost nothing written on it says so. Whichever one you did, the problem started in the bowl.
“Dense” and “rubbery” are two different faults
In baking, dense means the crumb has too little gas trapped in it. The cells are small and packed close, so a slice weighs more than it should. Rubbery is a separate quality. It describes springiness, the way the crumb pushes back under your thumb instead of tearing. That elasticity comes from gluten, the protein network flour builds when it gets wet and worked.
You can have one without the other. A pound cake is dense on purpose and shouldn’t be rubbery at all. Cake loaves that come out with a rubbery texture instead of a crumbly one have a gluten problem whatever they weigh, almost always from mixing after the flour went in. Both at once usually means gluten was overdeveloped and the leavening gas had nowhere to expand into.
A third symptom is worth naming separately, because it looks like underbaking and isn’t. A thin gummy band along the bottom of an otherwise decent cake has its own, fairly obscure term in professional kitchens: cleaching. The rest of the crumb can be light and fully baked; only the bottom inch is compressed and wet-looking. Cutting into a cake that’s gluey in the middle and assuming you pulled it out early sends you chasing the wrong fix.
| What the crumb looks like | Most likely cause |
| Tight and springy, with vertical tunnels in the slice | Overmixed after the flour went in |
| A gummy band at the bottom, rest of the cake fine | Undermixed, undercreamed, overmixed, or weak leavening |
| Even, close and heavy, but fully cooked | Too much flour, or a higher-protein flour |
| Wet and sticky only in the centre, edges fine | Underbaked, or the oven runs cool |
| Rose high, then sank into a damp dip | Too much leavening, overmixed, or overcreamed butter and sugar |
| Hard, dry and tough at the edges | Overbaked, or too much flour, or both |
What goes wrong before the mixer even starts?
Flour is the main offender. A cup of all-purpose flour weighs about 120 grams fluffed, spooned and levelled by King Arthur’s own standard — other authorities read the same cup anywhere from 125 to 140 grams, so match your scale to whichever recipe or flour brand you’re actually following. Dip the cup into the bag instead and you compress it: the same cup can carry 150 grams, up to 160 if the flour has settled. On a three-cup cake that’s most of an extra cup you never meant to add. The extra starch and protein has to be hydrated by liquid the recipe didn’t budget for, so the batter stiffens, gluten develops faster, and the crumb closes up. This is what makes a cake dense and heavy more often than anything else here, and it’s why cakes turn out hard for people following the method exactly.
Flour type matters nearly as much. Flour protein content dictates how much gluten a flour can build, and the spread between brands is real. Cake flour sits around 7 percent, though unbleached versions can reach 10. Gold Medal all-purpose is about 10.5, King Arthur all-purpose is 11.7, and bread flour runs to 12.7. Swapping bleached cake flour for whichever bag was open is a recipe change, not a substitution, though how much it shows depends on how gently the batter gets mixed afterwards.
Too much fat does its own damage. An extra spoonful of butter, or free-poured oil, weighs the crumb down. Then there’s temperature. Butter creams properly at about 65°F, or 18°C, cooler than most kitchens. It should feel cool to the touch and take a fingerprint that stays put without your finger sinking through. Fridge-cold butter won’t aerate, so the air cells that should hold your leavening gas never form. Cold eggs cause a related problem, refusing to emulsify into the creamed mixture and leaving it looking curdled. Both faults are locked in before the flour arrives.
One more measurement problem, usually solved backwards. If your batter looks watery, resist tipping in flour to thicken it. That’s the move that turns a loose batter into a hard cake. Check first whether you’ve added everything; a missing portion of the dry ingredients is a common cause. If it’s still slack, add flour a tablespoon at a time, no more than two. Past that, start again.
The two mixing mistakes that produce the same cake
Overmixing builds a structure the cake can’t hold
Once flour meets liquid, every second of mixing develops gluten. Some is necessary; it’s what gives a cake its shape. Push past that and the network turns strong and elastic, the batter goes glossy and heavy, and it stretches off the paddle rather than dropping in ribbons. In the oven it rises beautifully, then sinks as it cools, because the structure was too tight to set at the height it reached. What’s left behind are the dense, moist, gluey streaks near the bottom of the slice.
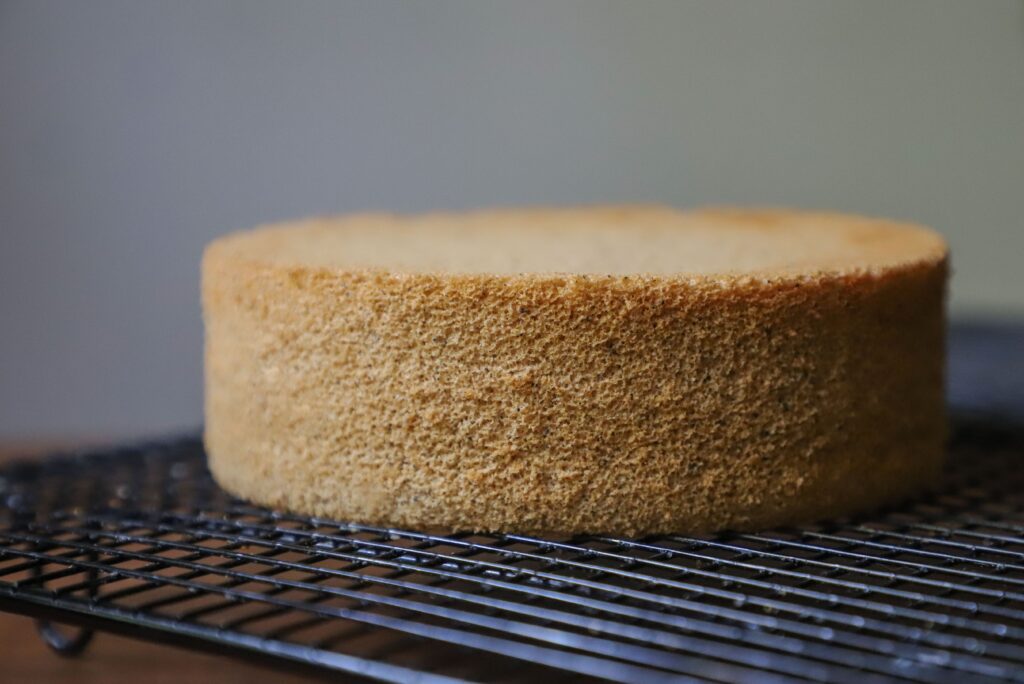
Big holes and tunnels running vertically through a layer come from the same place. Overworked batter traps large irregular pockets of air and holds them in position, so instead of a fine even crumb you get channels. Tunnels plus a springy bite is the clearest overmixing signal.
Overcreaming does the same damage a step earlier. Beating butter and sugar too long whips in more air than the batter can support, so the cake climbs high and then collapses. A stand mixer overshoots quickly. Medium speed for three to five minutes gets a pale, fluffy mixture; past that it starts to look oily. To prevent dense gluey streaks in a cake, change gear when the flour goes in. Everything before flour is about building air. Everything after is about not building gluten. Mix until the dry streaks vanish, then stop. If you keep landing on tough cakes, reverse creaming is worth trying: the fat goes in with the dry ingredients first and coats the flour, limiting how much gluten the liquid can develop.
So how does undermixing cause the same thing?
This half is missing from nearly every competing page, and it’s one of the routes to cake cleaching. If the batter never gets mixed enough to build structure at all, there’s nothing to hold the leavening gas or suspend the heavier ingredients. Denser batter settles toward the base during baking and sets there as a compressed gummy layer while the top rises normally. You get a cake that looks right from outside with a wet seam along the bottom.
The undermixing cake batter symptoms show before it goes in the oven. Streaks or pockets of dry flour still visible. A creamed mixture that stayed yellow and grainy instead of turning pale. And unmixed batter clinging to the bottom of the bowl under the paddle’s reach, where a surprising number of gummy layers start. Recipes specifying a final low-speed mix of about a minute aren’t padding the instructions.
To weigh undermixing against overmixing, where the fault sits is a clue rather than proof. Overmixing tends to spread it through the whole slice, and undermixing to concentrate it at the bottom, but a heavy bottom band can come from either.
Five things to check in the bowl before the pan goes near the oven:
- Lift the beater out. Correctly mixed batter falls in thick ribbons that sink back within a few seconds. Batter that stretches and clings has too much gluten.
- Look at the creamed butter and sugar. It should be noticeably paler than the butter you started with and visibly increased in bulk.
- Rub the creamed mixture between two fingers. Wet sand means you stopped too soon. Oily means you went too far, or the butter got too warm to hold air.
- Scrape right down to the bottom of the bowl before the final mix, then fold that back through by hand.
- Time the mixing after the flour, not before. Thirty seconds too long there costs more than a minute at the creaming stage.
Is your leavening doing anything?
Baking powder loses strength in the cupboard, and expired leavening can be doing close to nothing. Run the freshness test before blaming your technique. Stir half a teaspoon into two tablespoons of warm water; it should bubble and foam, though less violently than baking soda. For soda, stir half a teaspoon into a tablespoon of vinegar; the fizz should be immediate and hard. A gentle reaction, or a few lazy bubbles, means replace it.
Weak leavening explains why your cake didn’t rise properly and why layers came out short. It also produces its own dense band at the base: not enough gas to lift the batter’s full weight.
Leavening quantity cuts both ways. Too much looks like the opposite mistake and lands in the same place. Excess gas expands fast, the crumb stretches past what it can support, and the cake falls. That’s a large part of why a cake sinks in the middle, alongside overmixing and a pan too small for the batter. Even when the top doesn’t visibly dip, a compressed layer can be sitting underneath. If sinking is your main symptom, how to prevent cake from sinking after baking goes further into the timing.
Baking soda and baking powder aren’t interchangeable spoon for spoon. Soda needs an acid already in the recipe, from buttermilk, yogurt or natural cocoa. Powder brings its own. Converting takes roughly three times as much powder as the soda called for.
The oven finishes what the bowl started
Oven temperature accuracy is the variable no recipe can assume. Most home ovens run off their dial by a noticeable margin. One set to 350°F sitting 25 degrees cool means a longer bake, a slower set, and more time for heavy batter to settle. A cheap oven thermometer on the middle rack tells you what you’re working with.
Underbaking is why a cake comes out gooey or wet in the middle while the edges are fine, and it’s the fault most often mistaken for a mixing one. A toothpick alone doesn’t always tell you, especially in a dark cake. Look for edges pulling away from the tin, a top that springs back rather than holding a dent, and a tester coming out with a few moist crumbs rather than wet batter. Pull it early and the center sets into a heavy sticky layer as it cools.
Overbaking runs the other way and dries the crumb, which turns a cake hard rather than gummy. A pan size mismatch feeds into both. Batter meant for an 8-inch tin poured into a 9-inch bakes faster than the timing expects; go the other way and the outside sets long before the centre catches up. A sponge that shrinks as it cools has usually stayed in too long, and why does my cake shrink after baking covers that.
Opening the door in the first three-quarters of the bake drops the temperature while the crumb is still soft enough to collapse. And a cake left in a hot tin keeps cooking.
Can a dense cake be fixed after it’s baked?
Not the texture, no. Once the starch has gelatinised and the proteins have set, nothing applied afterwards rebuilds air cells that never formed. Every honest method for how to fix a dense cake after baking is about repurposing a dense cake rather than repairing it.
- Give the layers a simple syrup soak while the cake is still warm. Syrup won’t fix the crumb, but it moves a dry heavy cake toward a moist heavy one.
- Cube it into a trifle or parfait base with cream and fruit, where a firm crumb holds up better than a tender one.
- Crumble it, bind it with frosting and roll cake pops. Density helps here.
- Slice it thin, dry the pieces in a low oven, and serve them as rusks.
- Split it and fill it, using frosting to mask density. A soft filling against a firm crumb reads as deliberate.
One thing that isn’t on that list: re-baking. Putting a dense cake back in the oven drives out more moisture. And if it came out tasting off rather than only feeling wrong, that’s a separate fault, covered in how to fix bitter cake after baking.
Weigh the flour first
One change fixes more dense, rubbery cakes than everything else above put together, and it costs about twenty dollars. Weigh your flour. A digital kitchen scale, with one cup counted as 120 grams, removes the largest single source of variation in home baking, on every recipe, without you diagnosing anything first. On weighing versus volume measuring, cups introduce an error of up to a third of the flour weight, and no amount of careful mixing survives that.
A scale won’t fix a batter you beat for four minutes after the flour went in, so do the free thing too: mix exactly as written at that point, including the final low-speed minute. Weigh to 120 grams a cup, stop mixing when the flour streaks vanish, and test your baking powder in warm water every few months.